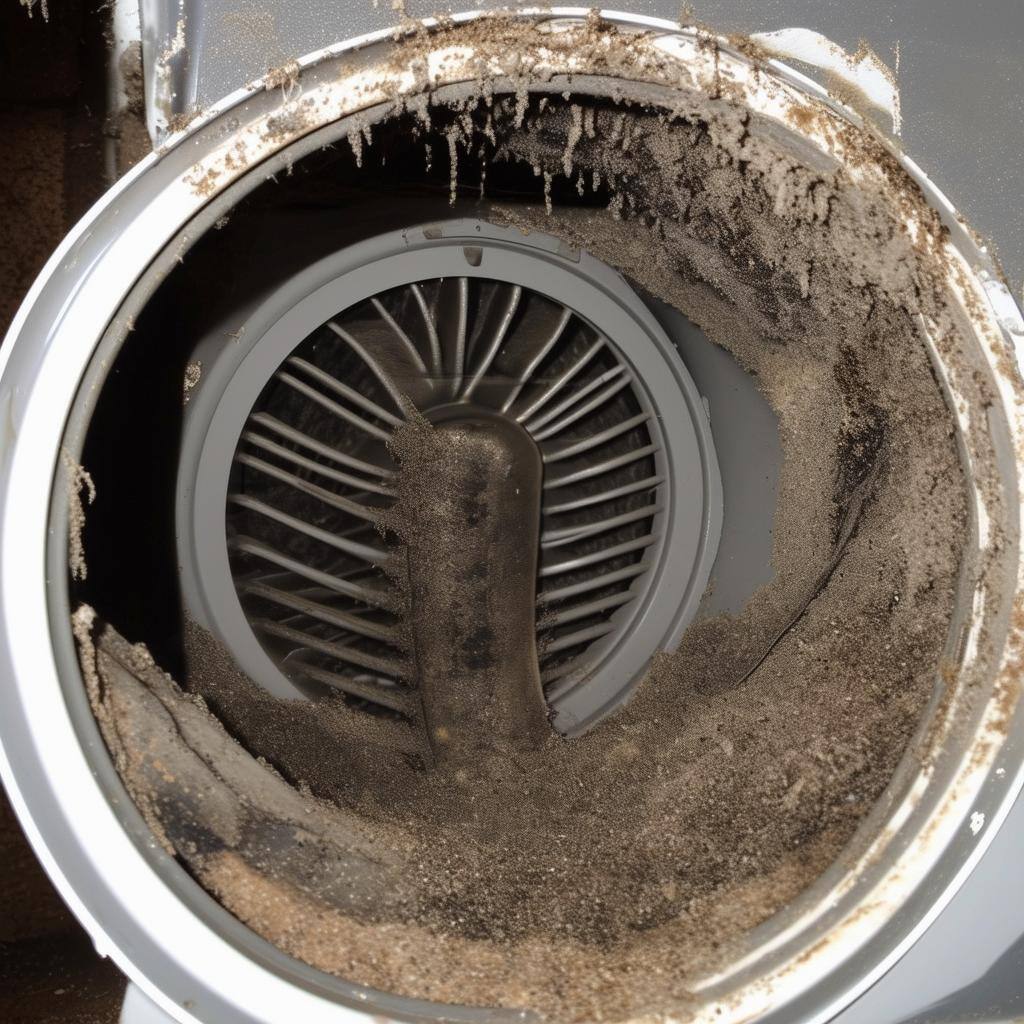
Vacuuming Fridge Coils
Vacuuming your refrigerator coils is essential for maintaining optimal performance and energy efficiency. Dust and debris can accumulate on the coils, making the refrigerator work harder to cool, which can lead to increased energy bills and a shorter lifespan for the appliance. Regularly cleaning the coils helps prevent overheating, ensures better airflow, and keeps your fridge running smoothly. Aim to do this every 6-12 months for the best results!
See a step-by-step video tutorial, below!
Step 1: Pull Out the Refrigerator
Carefully slide the fridge out to create enough space for cleaning. Make sure to check for any obstructions before pulling it out to avoid damage.
Step 2: Clean the Floor
Remove any dust or debris from the area behind and underneath the refrigerator. This will help maintain a clean environment and prevent dust buildup.
Step 3: Unplug the Fridge
Disconnect it from the power source to prevent electrical hazards while you clean. This is an important safety step to ensure your protection during the process.
Step 4: Remove the Kickboard
Take off the kickboard carefully. Be prepared for some dust, so hold your breath while you do this to avoid inhaling particles!
Step 5: Clean Thoroughly
Use a long-bristled brush, a shop vac or regular vacuum, and paper towels to clean all surfaces thoroughly. Make sure to get into the corners and crevices for a complete clean.
Step 6: Reattach the Kickboard
Once everything is clean, put the kickboard back in place. Ensure it is secured properly to prevent any gaps.
Step 7: Plug the Refrigerator Back In
Reconnect the fridge to the power supply. Make sure the plug is secure and check for any signs of damage to the cord before plugging it back in.
Step 8: Push the Refrigerator Back
Carefully slide the fridge back into its original position. Take your time to avoid damaging the floor or the appliance.